


 雷达卡
雷达卡


第一步:编写标注表达式代码
- 启动 ArcGIS Pro 并加载所需的矢量数据图层。
- 在地图视图中,右键点击该矢量图层,选择“标注”选项,并启用标注功能。
- 再次右键该图层,进入“标注属性”,切换至标注分类设置界面。将语言设置为 Python,并选择高级模式。
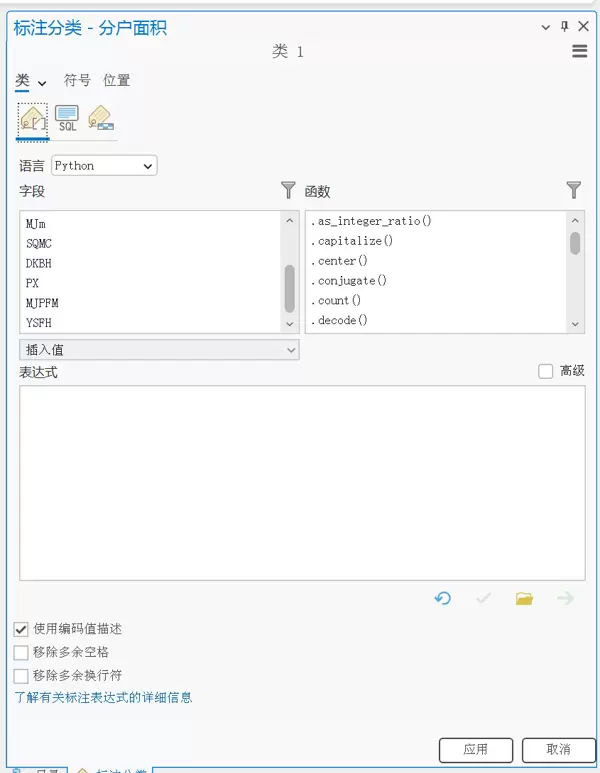
- 在表达式输入区域中添加以下脚本内容:
def FindLabel ( [左上] , [中上] , [右上] , [左下] ,  [中下] , [右下] , [左中] , [右中] , [浮动] ):
    top = [中上]
    topleft = [左上]
    topright = [右上]
    left =  [左中]
    right = [右中]
    bottom = [中下]
    bottomleft = [左下]
    bottomright = [右下]
    floating = [浮动]
    a=len( top )    # 分子字段的字符长度
    b=len( bottom )    # 分母字段的字符长度
    if a>b:
        s=a         # 如果分子更长,s等于a
    else:
        s=b         # 否则s等于b

    M = "<CHR spacing = '-20'>" +"<PART position='middle'>"+ "-"* int(s * 2 ) +"</PART>"+ "</CHR>"
    Tp = "<PART position='top'>"+ top +"</PART>"
    TopL = "<PART position='topleft'>"+ topleft +"</PART>"
    TopR = "<PART position='topright'>" + topright + "</PART>"
    Lt = "<PART position='left'>" + left + "</PART>"
    Rt = "<PART position='right'>" + right + "</PART>"
    Bm = "<PART position='bottom'>" + bottom + "</PART>"
    BmL = "<PART position='bottomleft'>" + bottomleft + "</PART>"
    BmR = "<PART position='bottomright'>" + bottomright + "</PART>"
    F = "<PART position='floating' h_align='center' v_align='center' x_offset='0' y_offset='-5'>" + floating + "</PART>"

    return M + Tp + TopL + TopR + Lt + Rt + Bm + BmL + BmR + F
实际调用时,可根据具体需求对字段进行替换。参考代码如下:
def FindLabel ( [左上] , [中上] , [右上] , [左下] , ?[中下] , [右下] , [左中] , [右中] , [浮动] ):
    top = [中上]
    topleft = [左上]
    topright = [右上]
    left = ?[左中]
    right = [右中]
    bottom = [中下]
    bottomleft = [左下]
    bottomright = [右下]
    floating = [浮动]
请将代码中的字段名称(如 [中上]、?[中下]、[左中]、[右中] 等)替换为实际需要用于标注的字段。其中:
- [中上] 对应分子部分字段;
- ?[中下] 对应分母部分字段(若无则保留空值或使用 '?' 表示);
- [左中] 作为前缀分数字段;
- [右中] 作为后缀分数字段;
- 其余字段根据实际标注布局需要填写,若无需显示可留空或标记为 '?'。
第二步:自定义标注符号样式
- 在“标注分类”窗口中,点击“符号”选项,进入符号配置面板。

- 在符号类型中选择“注释”,然后切换为“复合注释”模式。按照下方示例图调整相关参数设置。
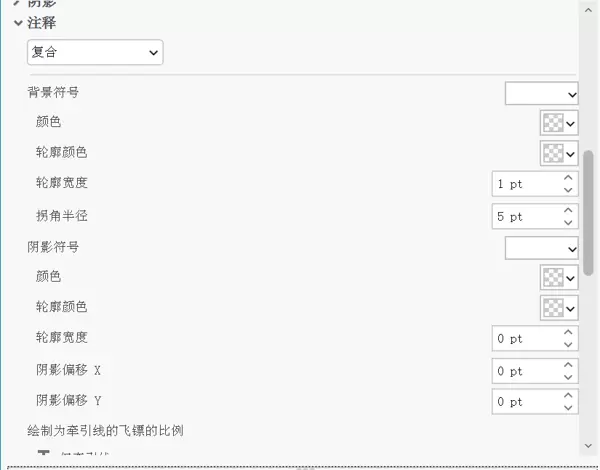
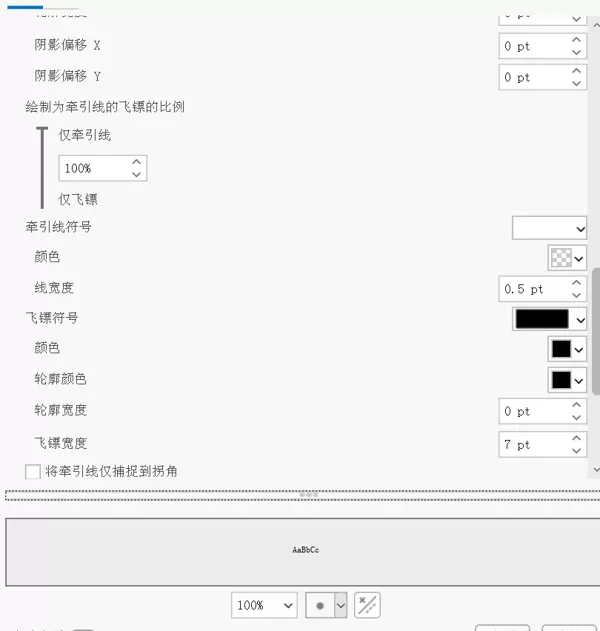
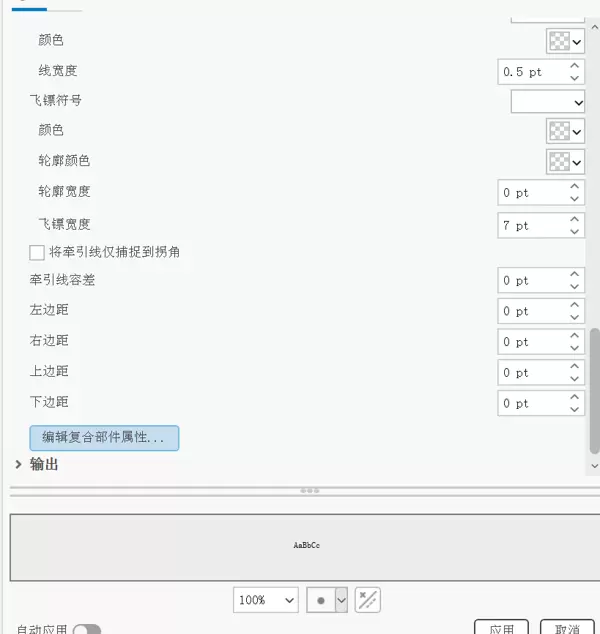
- 通过点击“编辑复合部件属性”来进一步细化各个组成部分的格式与样式。

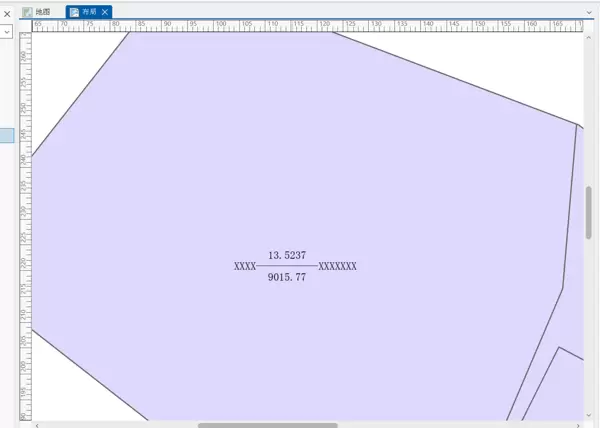
- 完成设置后,最终生成的标注效果如下图所示:

 京公网安备 11010802022788号


